This article will provide information about how to configure the "Go to Appliance" (GTA) button for a Telenet connection with LinkManager release 8.3 release and newer.
Please follow this guide step by step, and it will explain how to enable the "Telnet" button in LinkManager.
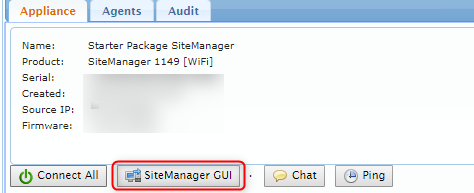
- First login to the LinkManager and find the SiteManager you want to access (Guide here) and then click the "SiteManager GUI" button.
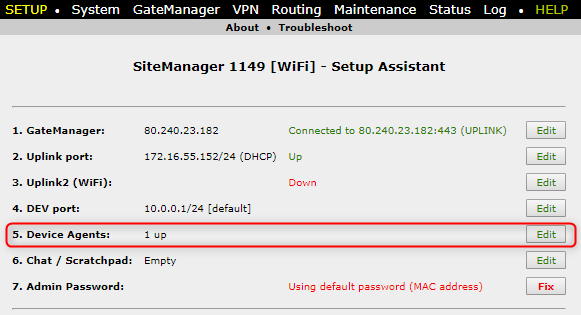
- Click the "Edit" button to the right of "5. Device agents" in the list.
- If you have an already existing agent you want to enable Telnet to click the "Parameter details" button.

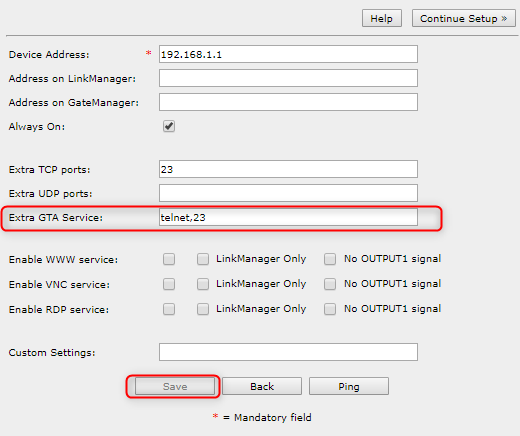
- in the "Extra GTA Service field type "telnet,23" and then click save.
- Refresh the LinkManager view.

- Select the agent and you now have the "Telnet" Button, if you click the light bulb you can choose which action happens upon clicking the "Telnet" button.

- If you connect to the agent via the "Connect" button you need to click the "i" icon and click the Telnet (PuTTY) button - this will connect you to the IP on port 23.
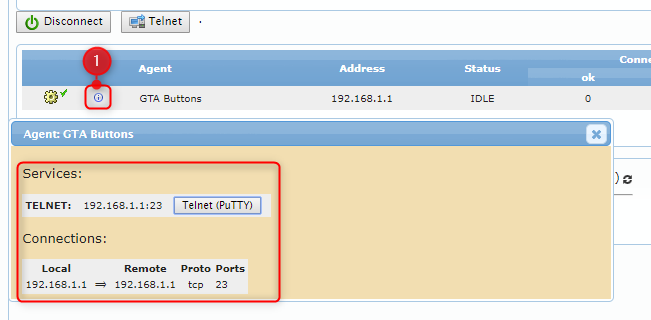
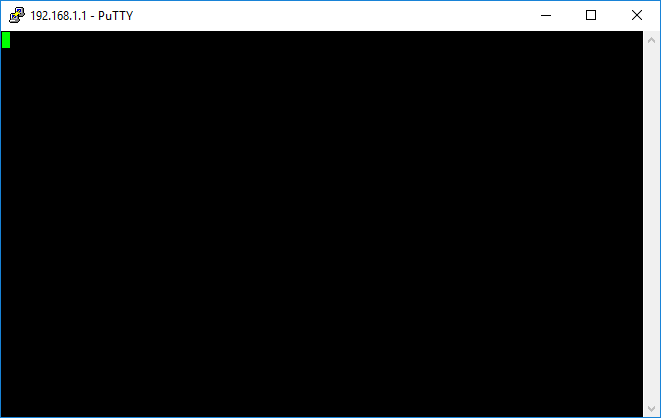
- Clicking the "Telnet (PuTTY)" button and the PuTTY program will open.