This article will provide information about how to configure the "Go to Appliance" (GTA) button for a VNC connection with LinkManager release 8.3 release and newer.
Please follow this guide step by step, and it will explain how to enable the "VNC" button in LinkManager.
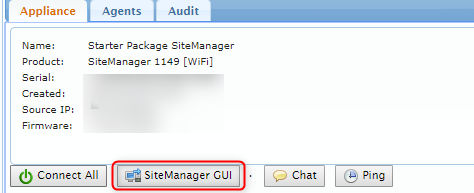
- First login to the LinkManager and find the SiteManager you want to access (Guide here) and then click the "SiteManager GUI" button.
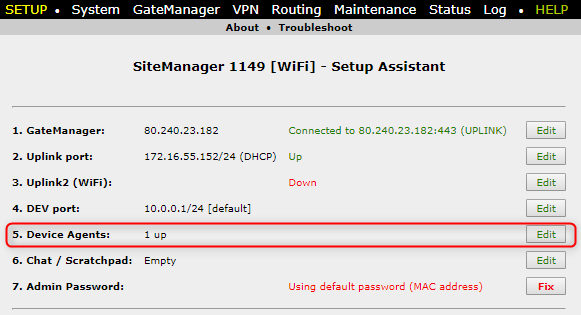
- Click the "Edit" button to the right of "5. Device agents" in the list.
- If you have an already existing agent you want to enable VNC for click the "Parameter details" button.

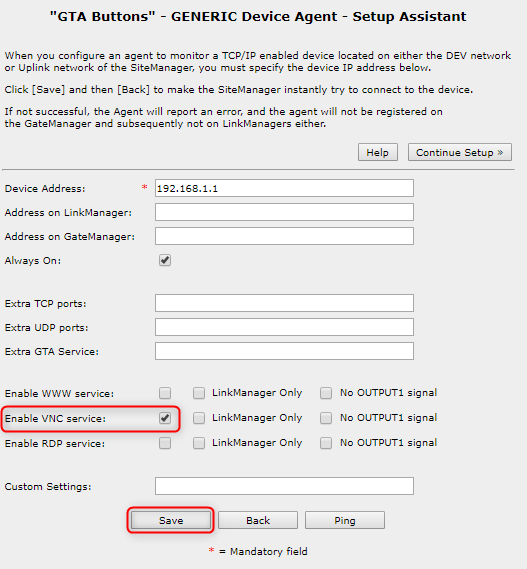
- Checkmark "Enable VNC service:" as seen in the picture below and then click save.
- Refresh the LinkManager view.

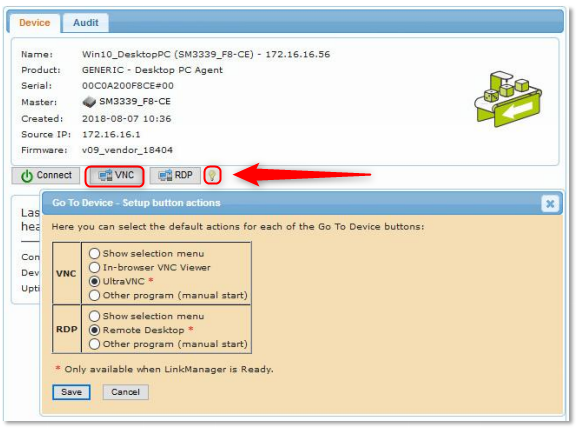
- Select the agent and you now have the "VNC" Button, if you click it without clicking the "Connect" button it will use the "GTA service ports" when it opens the VNC program, clicking the lightbulb next to the button lets you configure what should happen by default upon clicking the button.
- If you connect to the agent by clicking the "Connect" button you need to click the "i" icon and click the applicable "VNC" button, this connects you directly to the IP on the 5900 port.
Note: if you have more then one of the supported VNC programs installed they will show up as well. 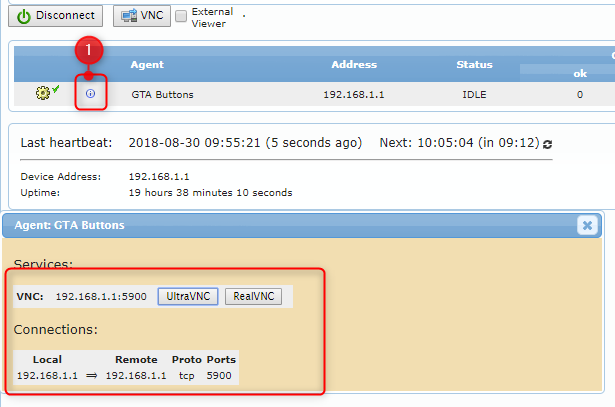
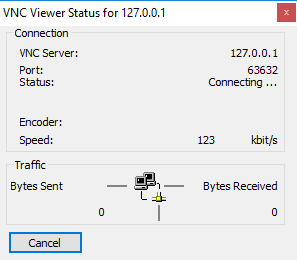
- Clicking the "VNC" button and default VNC program will open