This article will provide information about how to configure the "Go to Appliance" (GTA) button for a Remote Desktop (RDP) connection with LinkManager release 8.3 release and newer.
Please follow this guide step by step, and it will explain how to enable the "Remote Desktop (RDP)" button in LinkManager.
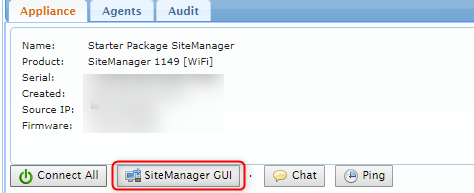
- First login to the LinkManager and find the SiteManager you want to access (guide here) and then click the "SiteManager GUI" button
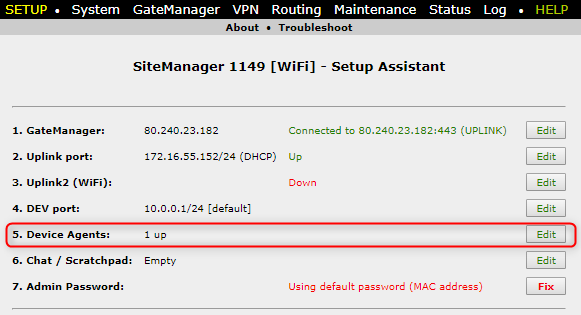
- Click the "Edit" button to the right of "5. Device agents" in the list.
- If you have an already existing agent you want to enable Remote Desktop for click the "Parameter details" button.

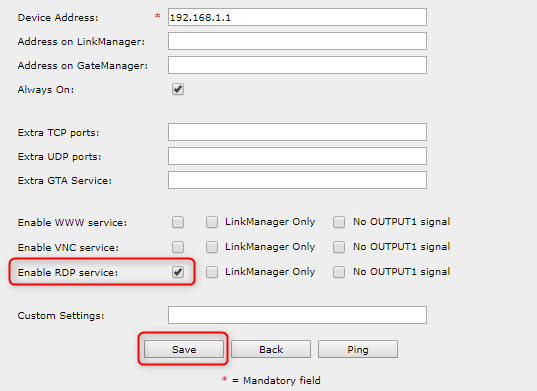
- Check the "Enable RDP service" box, as seen in the picture below, and then click " Save.
- Refresh the LinkManager view.

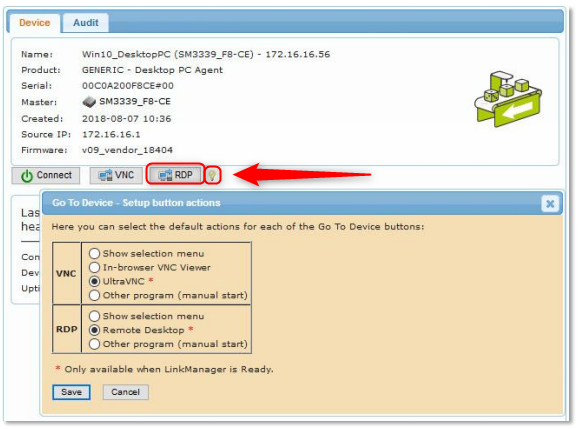
- Select the agent and you now have the "RDP" Button, if you click it without clicking the "Connect" button, it will use the "GTA service ports", click the light bulb to choose which action to take by default upon clicking the button.
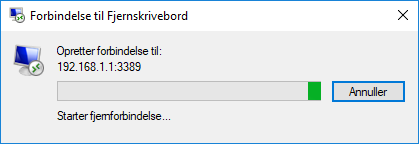
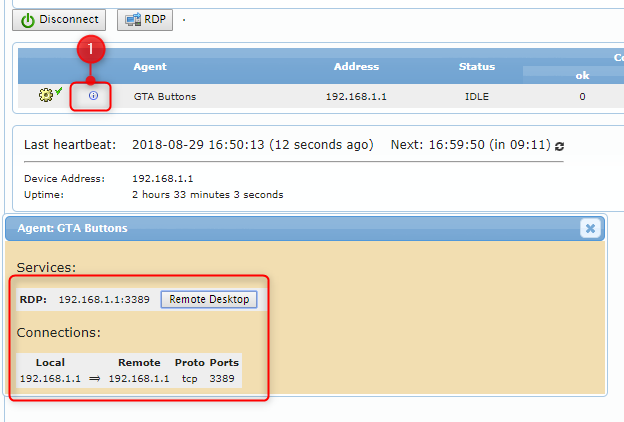
- If you connect to the agent by clicking the "Connect" button, you need to click the "i" icon and click the "Remote Desktop" button, this connects you directly to the IP on port 3389.
- Clicking the "RDP" or "Remote Desktop" button and Microsoft Remote desktop will open