How to enable the SSH "Go To Appliance" button in LinkManager
- 14 Apr 2021
- 1 Minute to read
- Contributors

- Print
- DarkLight
- PDF
How to enable the SSH "Go To Appliance" button in LinkManager
- Updated on 14 Apr 2021
- 1 Minute to read
- Contributors
- Print
- DarkLight
- PDF
Article summary
Did you find this summary helpful?
Thank you for your feedback
This article will provide information about how to configure the "Go to Appliance" (GTA) button for an SSH connection with LinkManager release 8.3 release and newer.
Please follow this guide step by step, and it will explain how to enable the "SSH" button in LinkManager.
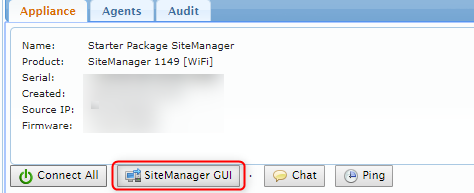
- First login to the LinkManager and find the SiteManager you want to access (Guide here) and then click the "SiteManager GUI" button.
- Click the "Edit" button to the right of "5. Device agents" in the list.
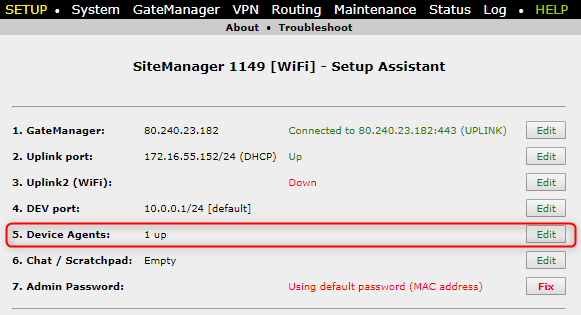
- If you have an already existing agent you want to enable SSH for click the "Parameter details" button.
NOTE: If you have a "SSH agent" chosen the button will automatically be available you can go to step 6) 
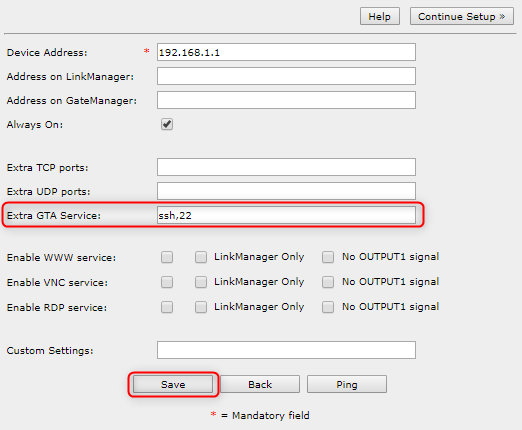
- in the "Extra GTA Service field type "ssh,22" and then click save.
- Refresh the LinkManager view.

- Click the light bulb next to the SSH button to select which action should happen upon clicking the SSH button.
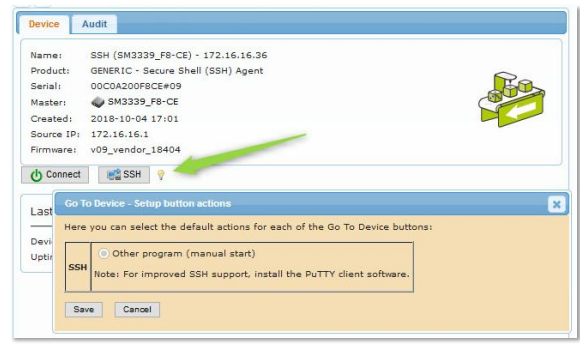
If you have Putty installed the window will look like the image below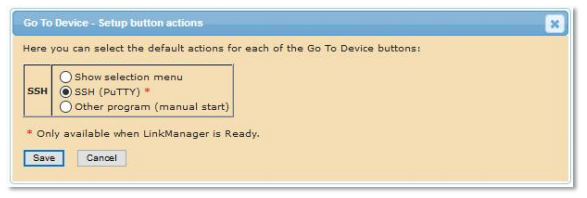
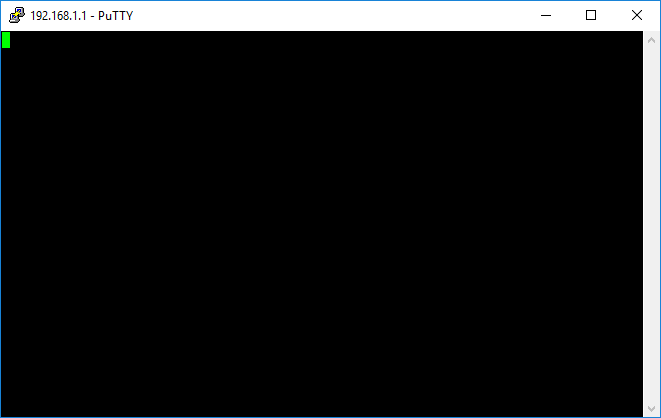
- Clicking the "SSH (PuTTY)" button and the PuTTY program will open.


Was this article helpful?